Monthly Archives: April 2012

Me-Made-May’12–Challenge accepted!

 The nail polish challenge has really shown me what I can do when I’m being  challenged, and I like it a lot.  Therefore, I hardly hesitated when I’ve learned about the upcoming Me-Made-May’02 challenge, which is a very simple one to explain: I must wear at least one different self-made garment every day, for the entire month of May.

As of tomorrow, I will (try to) post a short, mainly pictorial post every day, to show you the hand-made item I chose for that day.

This year’s May is full of events, starting from my birthday (May 2nd), through three different wedding parties, and ending with a short trip to a Rock festival in Lisbon, which basically means I will have a hard time keeping up with the daily blogging, but it also means I can expect  an awesome month for a diversified clothing challenge.

And this is my pledge:

I, Galit of Flies in My Eyes , sign up as a participant of Me-Made-May ’12. I endeavor to wear at least one different handmade or refashioned item each day for the duration of May 2012.

Wish me luck!

(Off to choose my cloths for tomorrow)

There Is No Place Like Oz (decorative walkthrough)


Last week I wrote about my shiny Dorothy shoes, and how I got the idea to make them. today I want to show you how I’ve created them, step by step.


The materials I’ve used:

Paper
Scissors
Masking-tape
Leftover Styrofoam to shape heels (cardboard can also work here)
Expendable knife to cut the Styrofoam with
Marker
Contact adhesive
White glue
Red acrylic paint
Some nice  fabric to match the shoes
Red sequins
White  Swarovski stones (white sequins can do the job)

The work stages:

1. I took a pair of lasts (אימומים) and wrapped them in paper. Using masking-tape, I kept wrapping until I got a smooth shape. I made  sure to wrap  at least 2-3 layers, to give the shoe some basic resilience.

(I have used my pair of lasts, but you can build yours on top of any pair of regular shoes you own).

2. I carefully extracted the paper wrap off the lasts. If you’re having trouble with it, you can cut a straight line in the back to help take it off, and later glue it back together.

3. Using a hot knife, I shaped  the heels out of leftover Styrofoam (in this case it was the Styrofoam that padded my new iron’s box). The heels don’t need to be perfect – they are about to be wrapped just like the rest of the shoe.

4. When I was satisfied with the shape of the heels, I wrapped them in masking-tape to smooth them up.

5.  I attached them to the soles. Since contact adhesive melts Styrofoam, I’ve used it only on wrapped parts of the heels, otherwise I should’ve used other types of glue.

6. I drew a small bow on paper, and copied it to have two.

7. I’ve used a pen to mark on my chosen fabric the sole shape of my lasts. I’ve cut the fabric according to the sole lines I’ve marked.

8. I’ve covered both of the shoes in red acrylics, inside and outside. I Waited until they were dry and painted again, so as not to miss any white spots.

9. I’ve glued the soles fabric inside the shoes, so they’ll be as pretty on the inside as well as the outside (remember – these are paper shoes which no one could ever wear – they will always be on display and their inside will be shown).

10. This step requires a bit more patience, but is crucial: applying the sequins on the shoes.
I didn’t cover the entire shoe with glue at one time, because by the time I’ve started to put the sequins it would already dry up. I worked on one area at a time, covering it systematically with sequins and then moving forward until both shoes were completely covered. I didn’t glue sequins on the inside of the shoe or under it.

11. For the finishing touch, I cut the bows I drew earlier, and painted over them in red acrylics (on both sides). I’ve glued the white Swarovski stones around the contour of the bows, then filled the inside with the red  sequins. When they were dry, I placed each bow on the front of the shoe and glued it on.

When all was done, I placed the shoes in my living room, where its relatively safe from lions and tigers and bears.

Oh, my!

There Is No Place Like Oz


Julio and Dorothy's Shoes

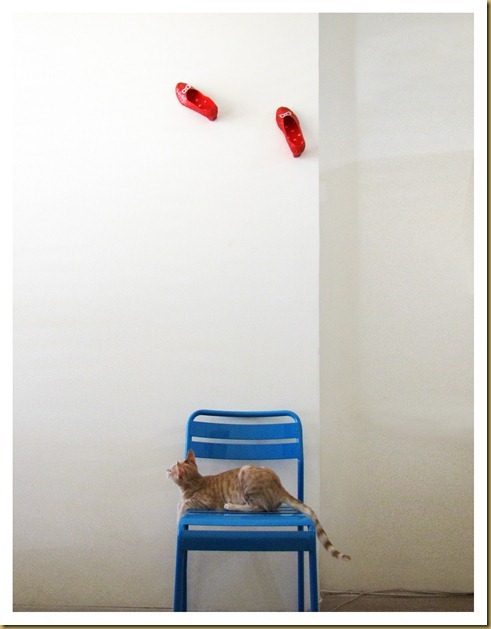
Over a year has passed since I wrote my post about the phonebook dress, in which I have linked to these pair of newspaper-covered shoes by Lindsey North. Lindsey has intended to upscale her shoes, but unfortunately she covered them with too many layers of hardener and took the shoes out of use, so instead of wearing them, she ended up nailing them to the wall as a reminder of her mistake.

newspaper shoes

I think its incredible how whenever I look at this picture that basically depicts a failed project, I am refilled with inspiration and desire to create something new.

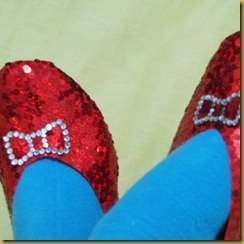
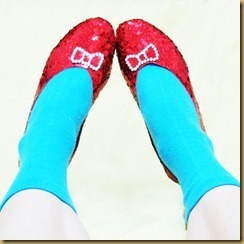
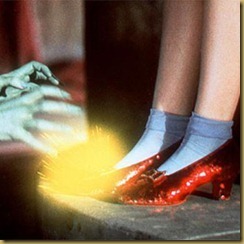
While working on said post, and re-viewing this photograph, I got inspired again. This time it pushed me in the direction of the actual shoes hanging on the wall, rather then the use of newspaper. The concept of hanging shoes on the wall for decoration is very new and refreshing to me, and immediately connected with another piece of inspiration I’ve been meaning to harness for a while: The Wizard Of Oz, and specifically – Dorothy’s shoes.


dorothy 1dorothy 2dorothy 3dorothy 4

The shoes I’ve created are made of paper, so as tempting as it is, and despite of  how I made it seem in the pictures, they cannot be worn, and will crumble under my body weight if I tried to walk on them.

What I can do with them is hang them on my wall, or put them on a shelf.

I’ve created a tutorial for the making of these paper shoes, and I intend to post it in a few days, for all of you who got curious, so stay tuned…

The 31 Days Nail Polish Challenge

Day 31: Re-Create Your Favorite Challenge

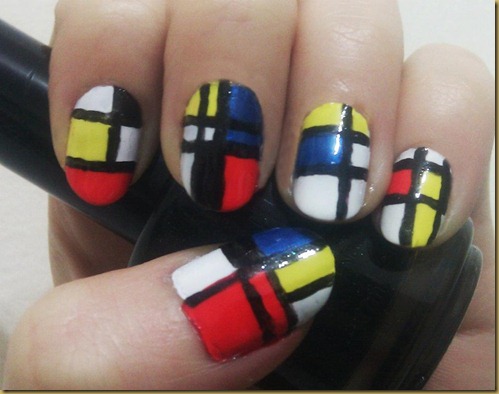
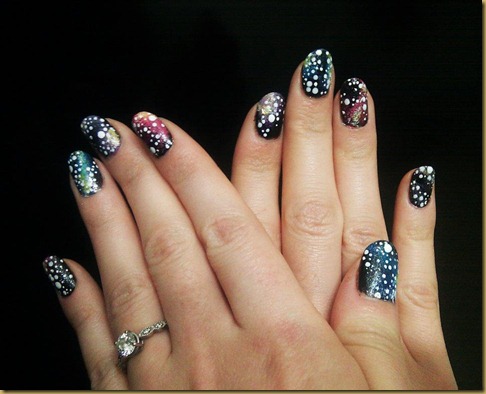
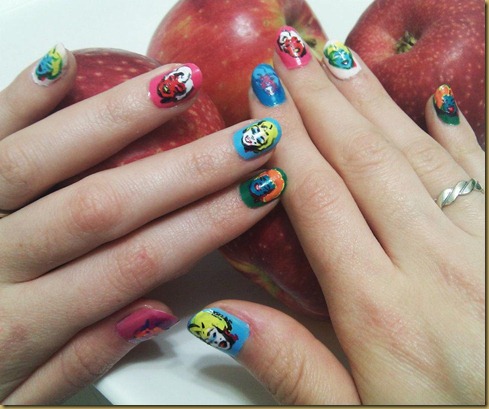
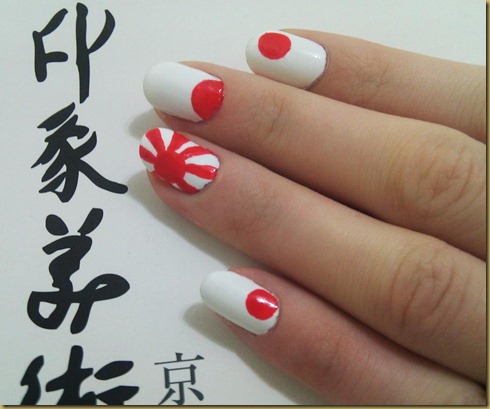
As you can see, this post is all about nail polish. It is a challenge I took upon myself a few months ago (after reading about it in my friend’s [Hebrew] nail polish blog), and wasn’t sure about publishing here, because this is not a cosmetics blog. Anyway, I published the pictures (on a daily-ish basis) on my Facebook page and they got a lot of great comments, and generally made a lot of buzz around friends and friends of friends. And so, I’ve decided I should really give them the spotlight they deserve, mostly because of the Nail-Art part of this challenge, which actually does fit here nicely.

I just wanted to state that I never made nail-art before, only plain good old fashioned nail polish, but the thing about challenges is that, well – they tend to challenge and get more out of me then usual. That’s what I like about them, and here is a taste of what this particular challenge got out of me:

Day 10: Gradient Nails

Day 13: Animal Print

Day 19: Galaxies

Day 22: Inspired by A Song

Day 23: Inspired by A Movie

Day 24: Inspired by A Book

Day 24: Inspired by A Book

Day 27: Inspired by Artwork

Day 28: Inspired by A Flag

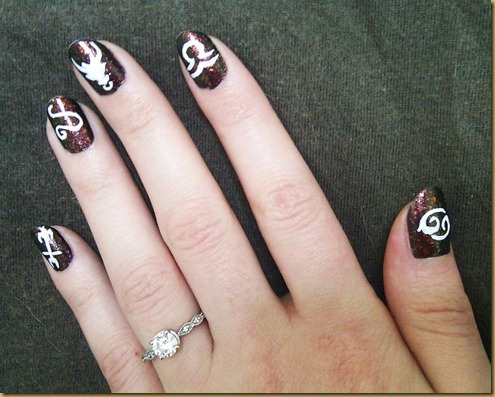
Day 29: Inspired by The Supernatural

You can see my entire nail polish challenge here, and you are more than welcome to ask questions and comment here in my blog, as I don’t think you can comment directly in my album if you are not a Facebook friend.

Here are a few additional bloggers who took on the challenge, whose work I really liked:

Let them have polish
The nailasaurus
Copy that copy cat

Enjoy!